According to the Apple UK Store for a limited time, you can get AirPods or an eligible accessory of your choice when you buy Mac or iPad with education savings.
Continue reading “New Education savings on the Apple UK store (Edu)”
anything and everything related to your Mac, from the basic setup to the advance user its all here at macuser
According to the Apple UK Store for a limited time, you can get AirPods or an eligible accessory of your choice when you buy Mac or iPad with education savings.
Continue reading “New Education savings on the Apple UK store (Edu)”So if you have an old MacBook Pro (MBP) laying around and the only issue is it does not hold the charge it might be worth looking for a 3rd party battery replacement.
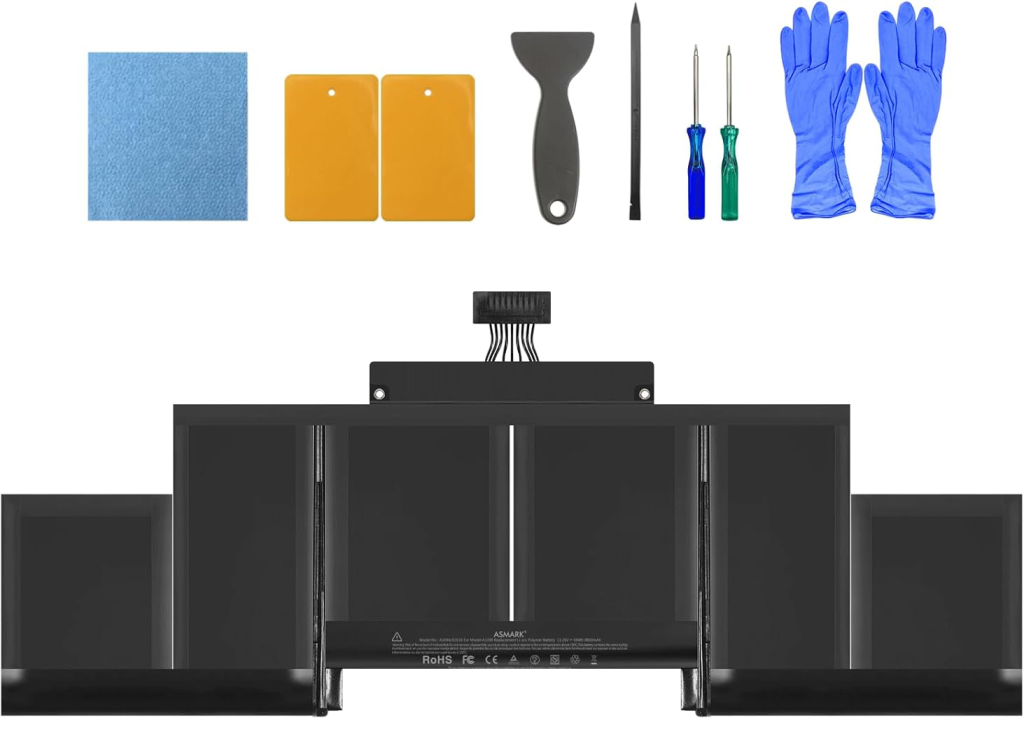
These machines still run Monterey (12.7.6) though not supported by Apple the software is still sound and ideal for a machine that needed for basic surfing etc.
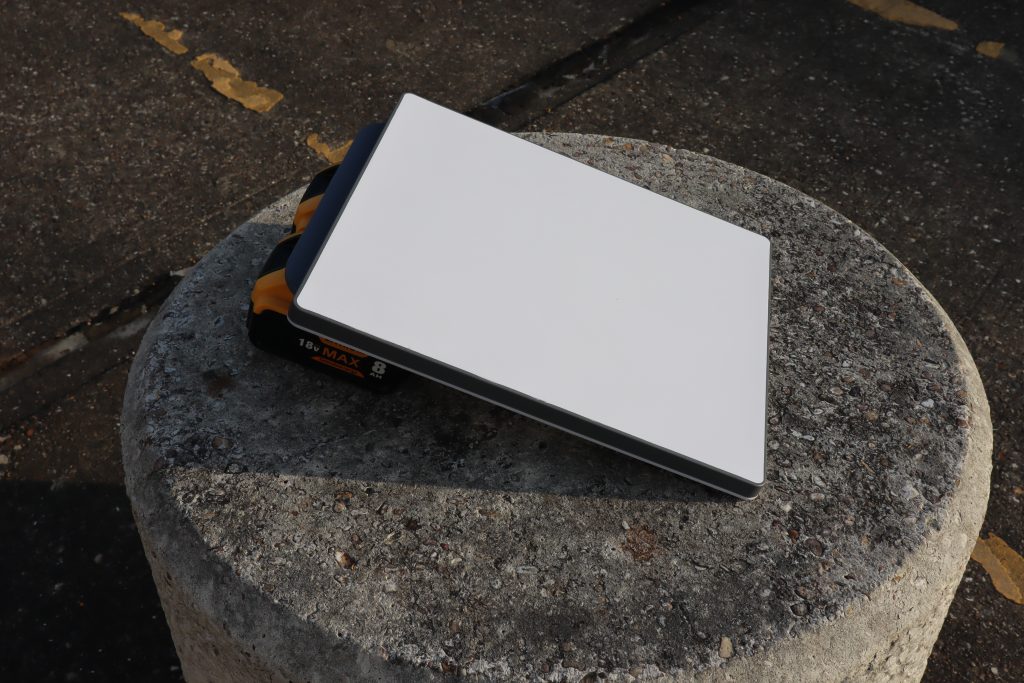
Continue reading “How to replace a MacBook Pro Battery 2012- 2015”A new Product has popped up for the mobile (Roaming ) Starlink Mini Kit.
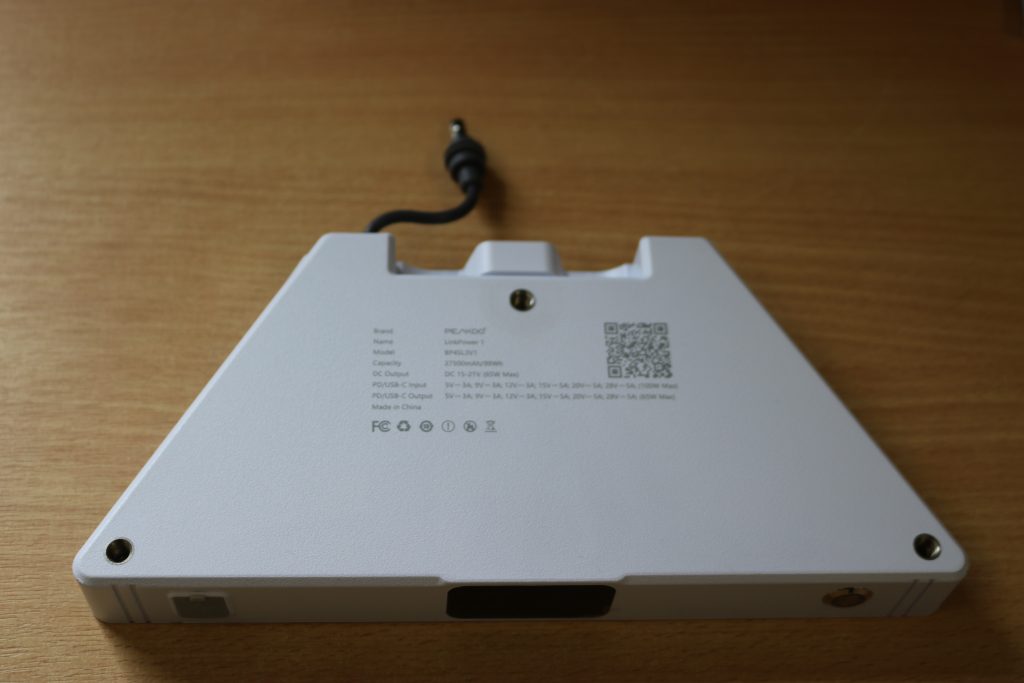
Unlike the 18V battery tool from starlinkbits.com that I reviewed a few weeks ago (link below) this product fits neatly into the back of the Starlink Mini Kit. You do have to remove the existing Starlink stand but unlike its competition it does fit neatly into the back of the mini box allowing you to lay the mini kit down flatter than the 18V battery option. (see below)
Continue reading “Starlink Mini Kit with Battery power”Starlink Roam has now dropped the hardware from £399 (UK) to £189 (UK) for the mini.
| Mini | Standard | Performance | |
| Option | Best for Portable | Best for Fastest Speeds all weather | Best for high-demand use, in the most extreme and remote environments. |
| Service | Starts at 50GB (£50/Mo UK) | Starts at 50GB (£50/Mo UK) | Starts at 50GB (£50/Mo UK) |
| Starlink Hardware | £189 (Mini Kit) | £299 (Standard Kit) | £1,999 (Performance Kit) |
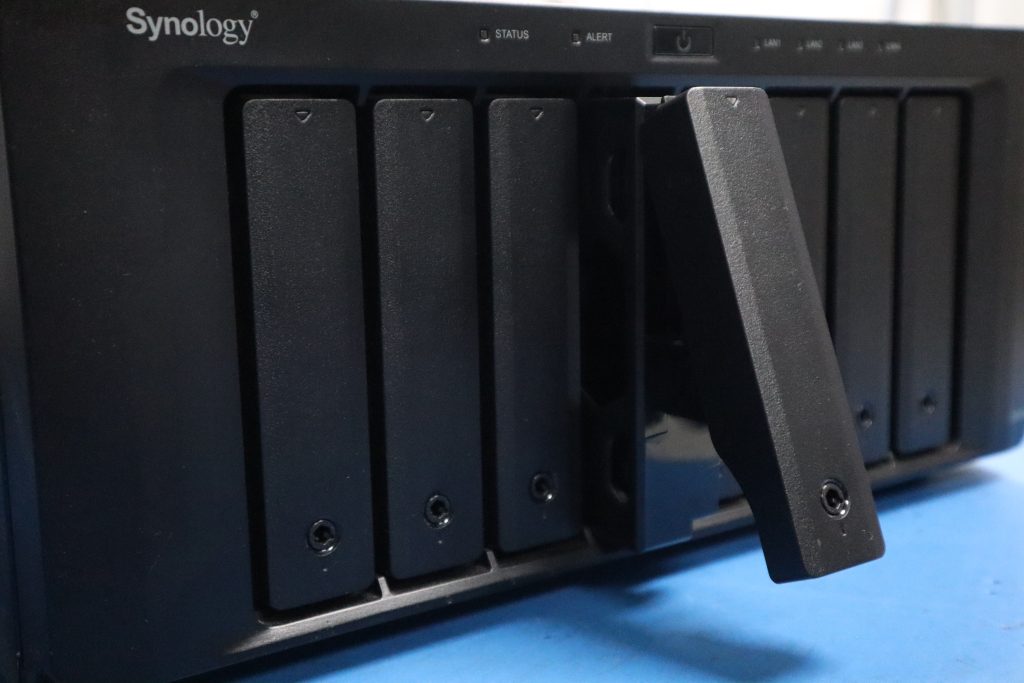
We have a small budge of £200 can we create a NAS with SSD Raid conjugation ?
Continue reading “Can you create a NAS with SSD’s on a £200 Budget”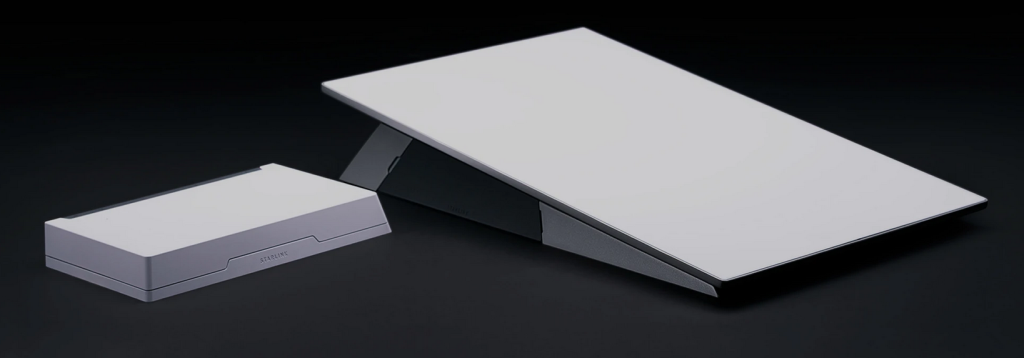

Looking at the current UK website for Starlink the prices have again started to go down “again”. less than 6 months ago for the standard package you would have to pay £50 + Vat for 50GB of data, that has now been replaced with a £39 + Vat base end package moving up as you require more data……
Continue reading “New Prices for Starlink Business in the UK”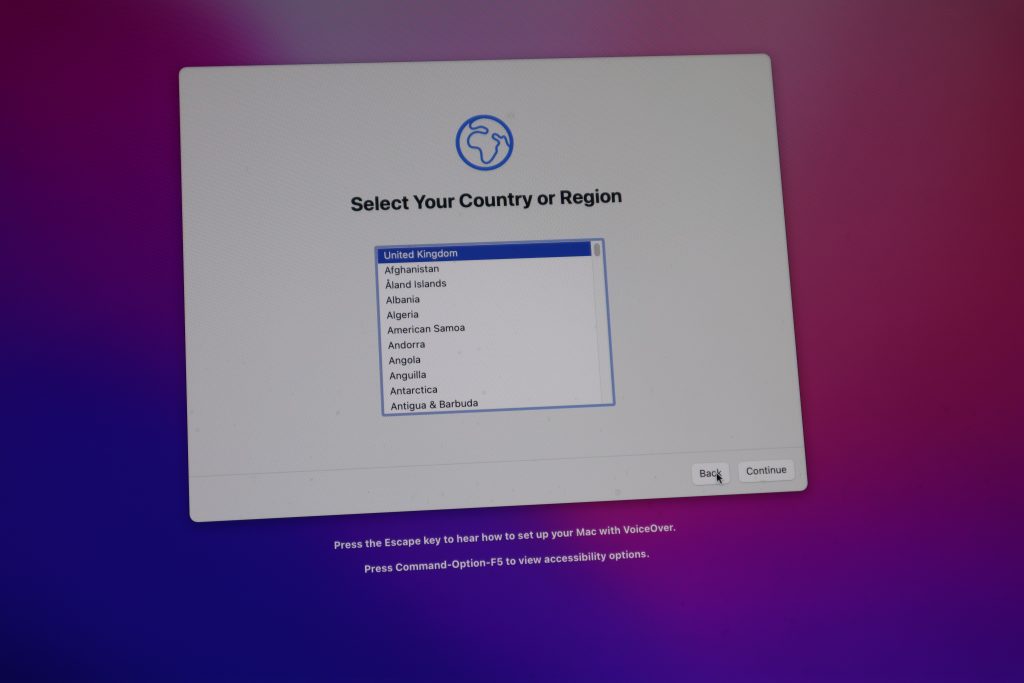
To factory reset an old Mac is straightforward with very little prep. Good practice is to ensure the data from the old machine has been copied to the relevant new location. A very simple method to achieve this is to use an ext hard drive and set it up as a Time Machine drive for backups. Other methods like cloud storage either a drag and drop to say dropbox or the built in feature for 365 or Google workspace works fine as long as you have the cloud storage to backup the data.
Continue reading “Factory reset your old mac”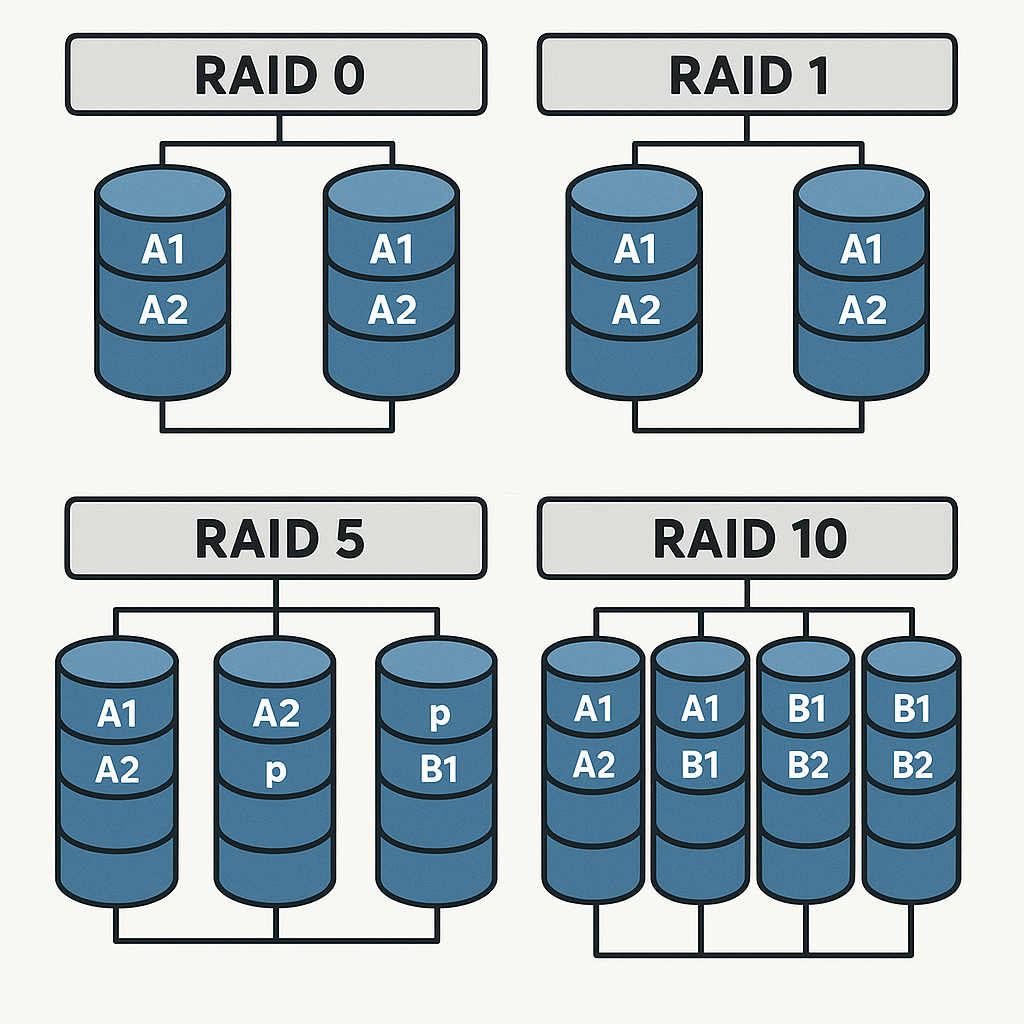
A RAID server is a server that uses a RAID (Redundant Array of Independent Disks) configuration to manage multiple hard drives as a unified storage system. It enhances performance, fault tolerance, or both, depending on the RAID level used.
Continue reading “Different Types of Raid setups for your NAS”In this short video we are going to factory reset a Mac using the USB macOS boot drive. Before you do this ensure you can carried out a full backup of your data as once your wipe the drive and install a clean macOS the data will not be retrieval. (chances are very slim especially with a SSD)
In the world of data storage and IT infrastructure, RAID (Redundant Array of Independent Disks) is a critical technology used to improve performance, increase storage capacity, and ensure data redundancy. A RAID calculator is a tool designed to help users understand and estimate how different RAID configurations affect usable storage space, redundancy, and performance.