Most Apple Engineer have most probably got several USB Ext hard drives they use as a clean boot system (operating system) for testing purposes. With that in mind creating the drives is somewhat time consuming and to replicate the drive setup from scratch can encounter glitches. If you have a bootable drive and require either a copy or a hardware upgrade of the USB drive your best option would be to look at cloning the drive to a new USB ext drive. We are going to look at anything from Catalina and before within this article.
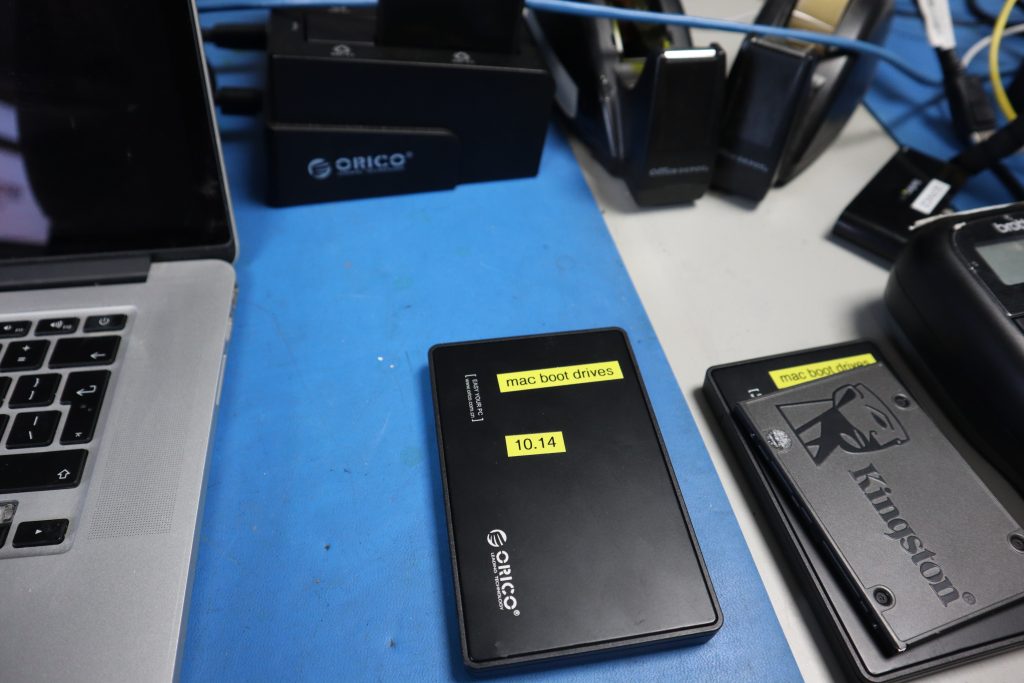
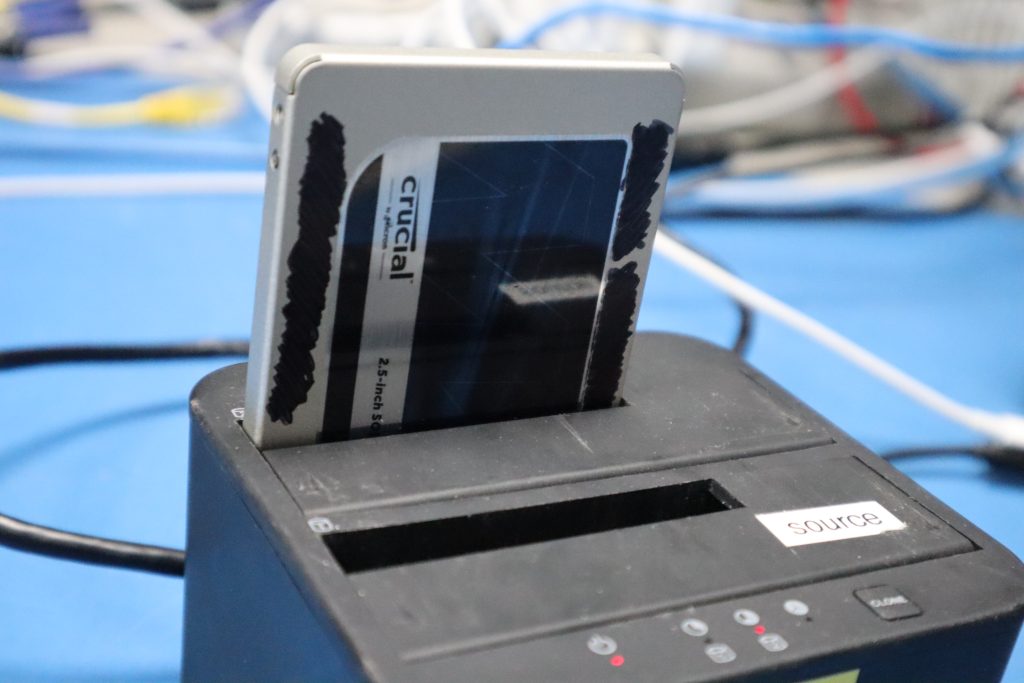
With this in mind the drive your going to clone to needs to be of an upgrade quality option i.e a Solid State Drive (SSD). For this task any decent brand of SSD would do, from scan disk , Samsung or Crucial to name just a few. As the 2.5″ drives become cheaper by the day and old hardware is recycled the amount of SSD’s available can increase a substantial size. If you have a live workshop old machines that are too old to run the latest macOS can be recycled and the SSD removed for this very task.
If you have not got any spare drives available the cost of buying a SSD is not going to break the bank, you’re only going to need a small size drive for this purpose which reduces the cost.
The minimum size for any OS from Catalina or below would only need a 128GB drive. For the later macOS like Big Sur and above a 256 SSD will suffice. Any drive over that is fine but depending on the amount of spare SSD drives you have I would save the larger drives for Data moves or even Backups. With a 2.5″ SSD plugged into a Hard Drive Caddy to backup a Mac using Time Machine is a nice utility to have. It also means the old mechanical drives can be scrapped for recycling.
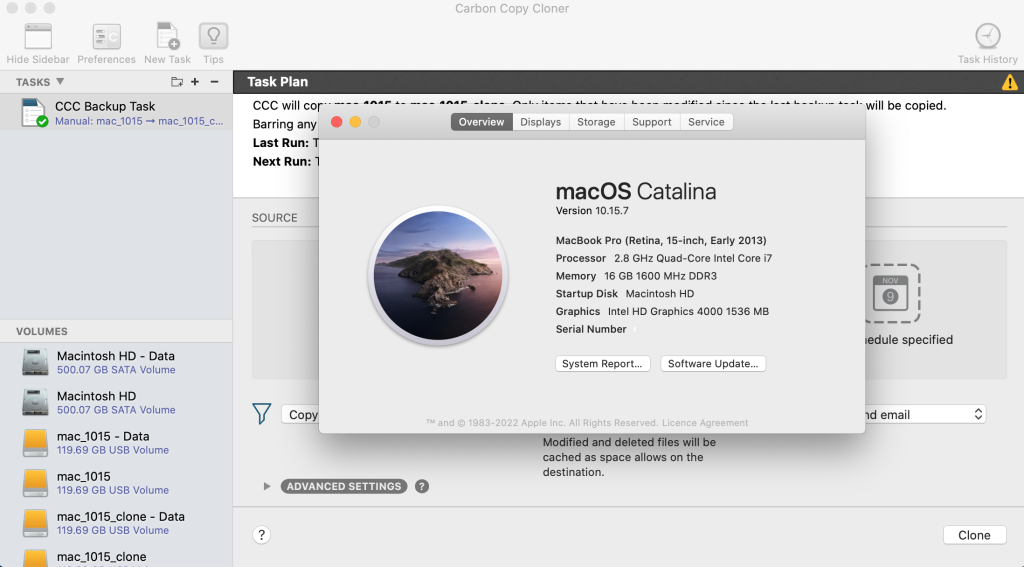
So moving on to the task at hand. You have the original build of the bootable drive with one of the old Operating Systems on it. For this task we are using an old 2013 MacBook Pro (MBP) decent spec as a test machine running Catalina with a licence version of Carbon Copy Cloner (Version 5). Version 6 will install but is not require for the old macOS Operating Systems and Version 7 would not work on Catalina, in short pointless to use them keep it simple.
The Mac has 2 x USB ports so one port is for the old OS drive and the other is for the new upgrade (i.e SSD).
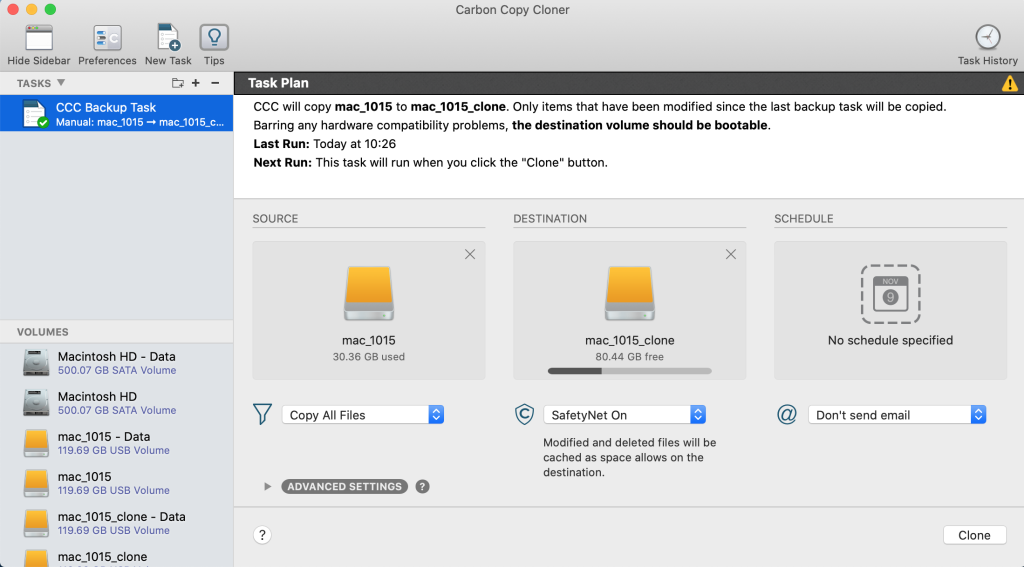
Using Carbon Copy Cloner place the Master drive (Bootable macOS Operating System) in Source and the new drive its going to be cloned to in Destination. Point to not anything from Mojave and below it does not matter the naming convention before the clone so you can name it anything. For Catalina name it new drive what you want to call it before pressing the clone button. The reason for this is the drive partition into the OS drive and the Data Drive if you change it after the clone only the OS drive name will change. Top Tip keep it clean and do the naming conversion before the clone.
Once the drives are in place I would check you have got them the correct way round if you don’t check and its the clone in the source all that work you did setting up your fresh build will be lost as soon as you click the clone button. After clicking the clone button leave the machine alone for the duration. Depending on the size of the clone you’re looking at 10 – 20 minutes to do the task. At the end of the clone it will ask you to create the recovery partition. Don’t miss this step it can be very easy to just eject the drive without creating the recovery partition. If you do the best option is to wipe the clone (New SSD) is disk utility and re do the clone remembering to create the recovery partition at the end of the task.
Once the clone is completed and the recovery partition has been created alway test the clone so using a MacBook Pro 2013 is idea as it will boot most of the old macOS. All you do is shut down the machine only plug in the new clone and power up pressing the control key giving you the option to boot to the external drive.
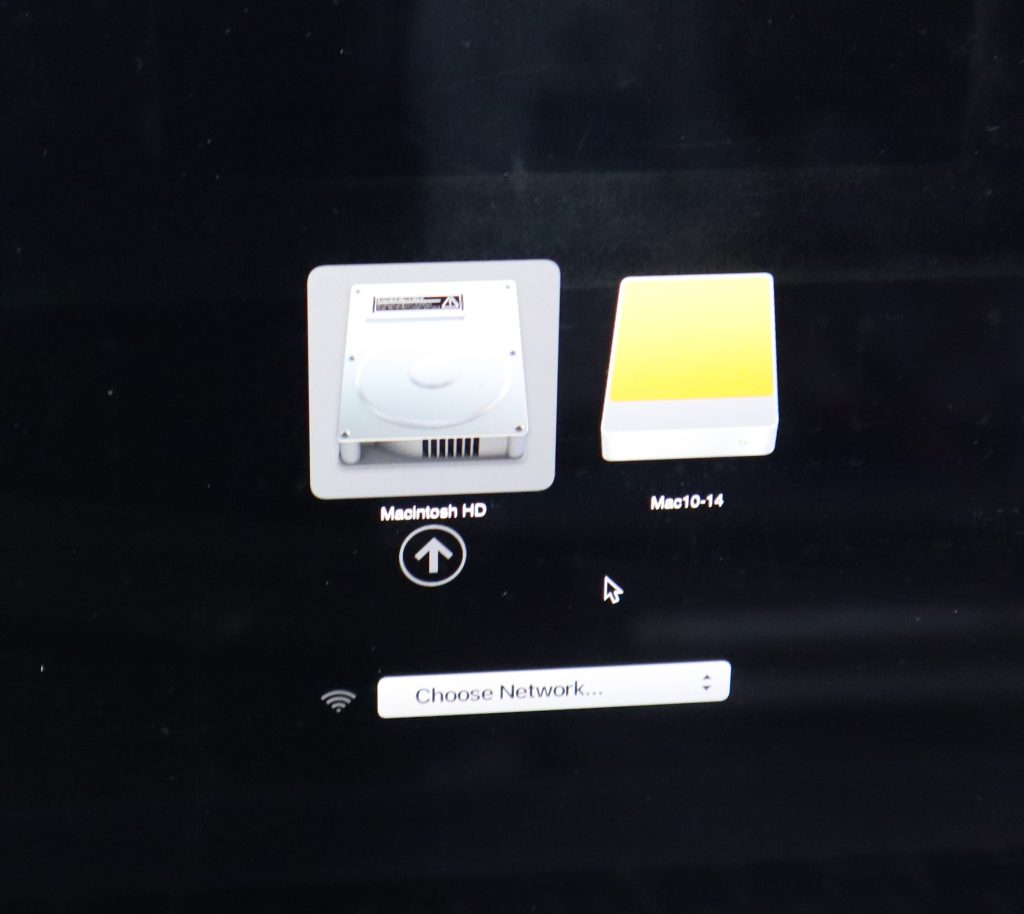
Once booted give it a quick test to see the OS boot drive is working via USB.
You then start the process over again for the other Ext USB Boot drives. I worked off 10.10 – 10.15 using several Spare SSD’s as my workforce for the upgrade.