If you have to run a terminal command to format a hard drive then you might be in a bit of trouble. Formatting a Hard drive on a Mac is very simple using Disk Utility. However there may come a time you are required to formate a drive using a Terminal Command.
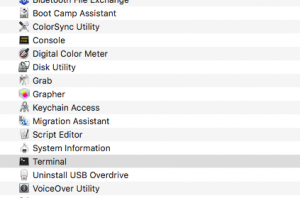 Plus the external drive, USB Stick into your Mac. Open up Terminal, either through Spotlight or go to Utilities and open Terminal from there.
Once in terminal you need to run the command diskutil list.
diskutil list
This will display a list of the drives connected to your Mac. You need to identify the drive that you want to format. On the right side it has disk identifier i.e disk2 or disk3.
You then need to run the command diskutil eraseDisk JHFS+ diskname diskidentifier. You will need to replace diskname with the new name of the drive you are formatting and the diskidentifier is the drive you identified when you ran the diskutil i.e disk2 etc.
So in short your new command line could be something like this:
diskutil eraseDisk JHFS+ NEW_DISK_NAME disk2
Note: formatting the drive using the Terminal Command JHFS (OS X Extended (Journaled)) which is the command format of a Mac Drive will only be seen by Mac’s your Windows machine will not see the drive nor be able to write to it. If you want it to be seen on Windows and Mac then use either Fat32 (has a limit of data transfers upto about 4GB) or ExFat (no limit in data transfers that I am aware of)
Other formats:
diskutil eraseDisk HFS+ NEW_DISK_NAME disk2
diskutil eraseDisk FAT32 NEW_DISK_NAME disk2
diskutil eraseDisk ExFAT NEW_DISK_NAME disk2