Microsoft Edge for Mac

Browse with Microsoft Edge across all your devices

Hello all Mac Users,

For this article we are going to look at Microsoft Edge for Mac. Since the last Microsoft web browser for the Macintosh was ‘Internet Explorer for Mac’ back in 1996 with the Power PC and Mac Operating system running classic and then Mac OS X finishing with Tiger 10.4 or as we all called it ‘tigger’ because it sounded cooler.  

From 2019 Microsoft brought Edge to the Mac. Their web browser had already replaced Internet explorer on the windows platform and was looking at direct competition to other top web browsers available for mac.  

Lets dive into the browser and its operation in the Mac world.

At the first look you get the option to download either the Intel or Apple Silicon version.  

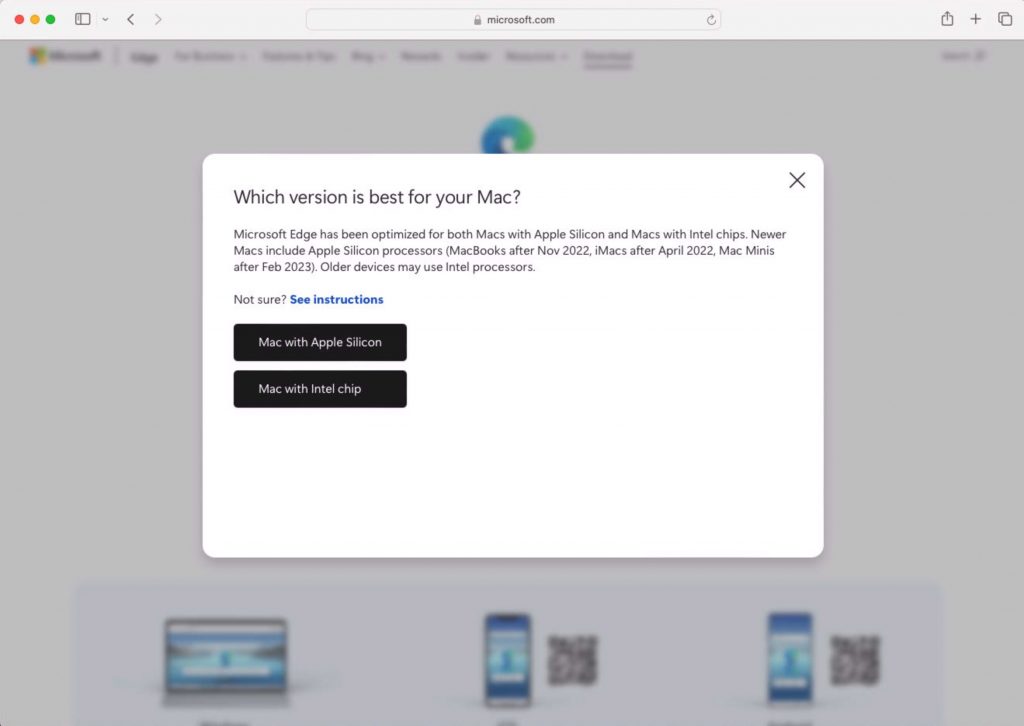
Much like lots of other software make sure you select the correct download to install.  

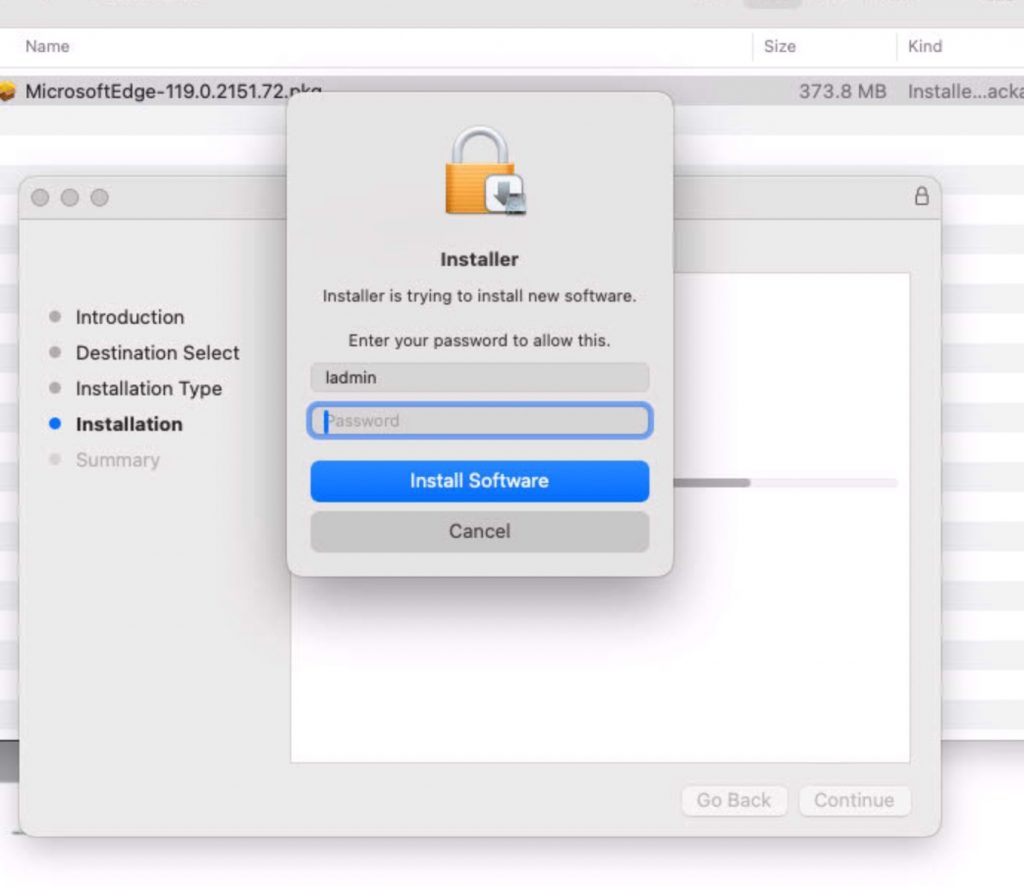
Installation is quick and straightforward, allowing you to dive into the web with minimal effort.  You will need an admin password to install the browser like most apps these days for the Mac. 


You then get the option to sign into your Microsoft account to sync between devices which can be handy if you work that way.  On the account options it’s not a showstopper if you don’t have a Microsoft account however for easy I have found having one helps in your day to day operation. 

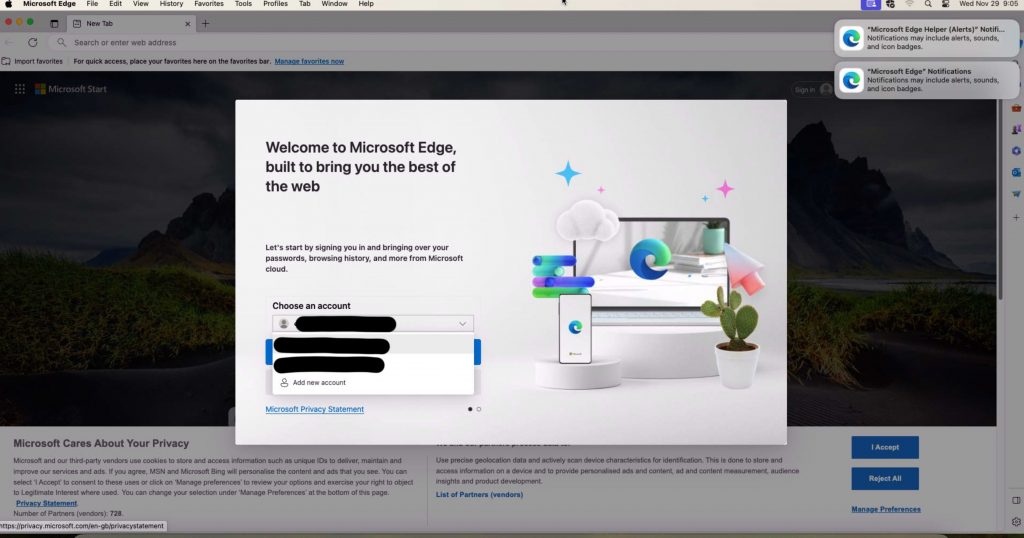
The account can join the other online accounts you signed up to from Google or iCloud Apple ID.  

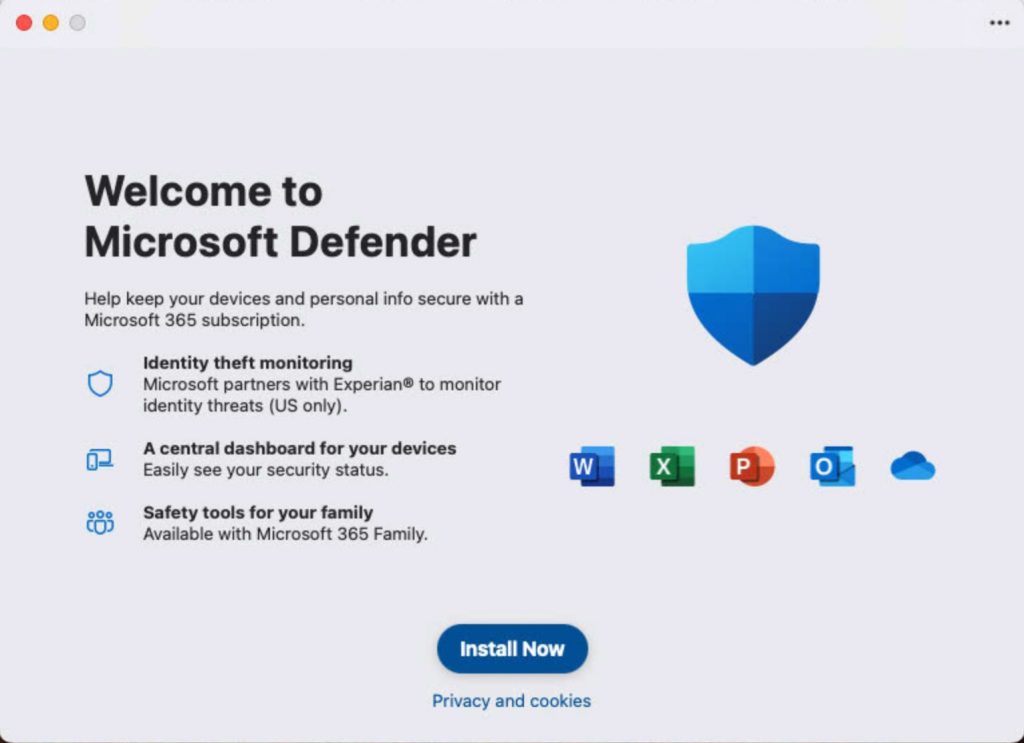
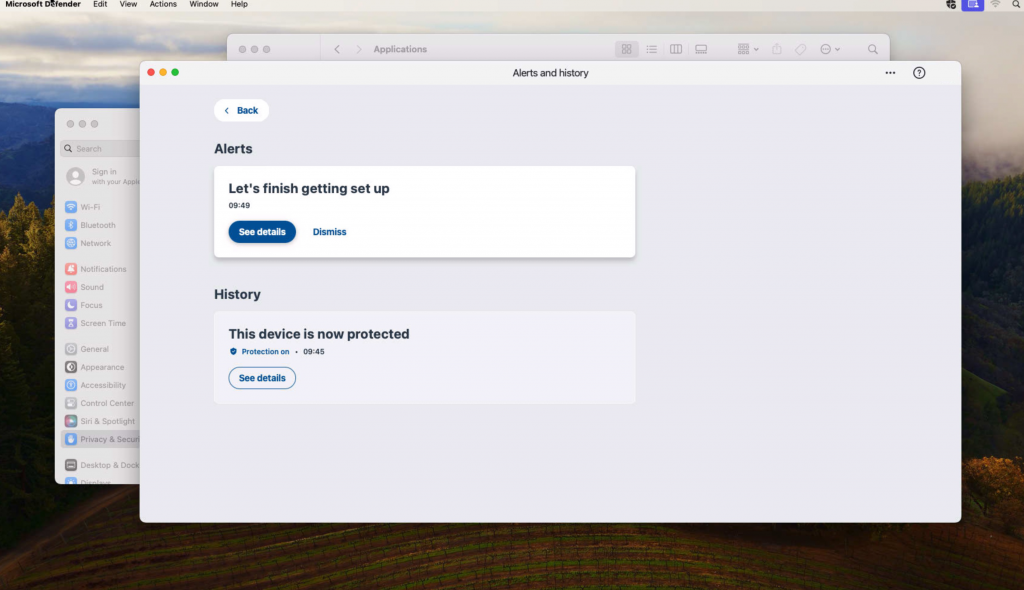
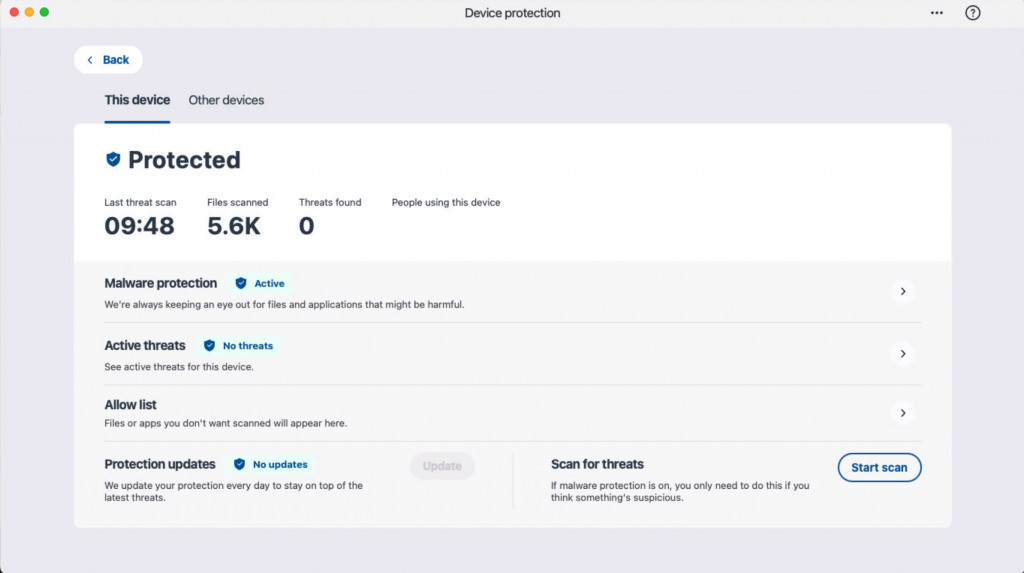
So installation is complete you have or have not signed in to Microsoft account your now ready to browse the tinerweb.  You can customise the browser and layout much like Chrome try’s to force you to do.  I would recommend you set you default language before you start your browser experience.  The key features like Familiar interface works identical to that of its Windows relative. Performance is rather good and much quicker in its responses and browser experiences to its main competitor Google Chrome.   To date I have not had the compatible issues I get with Safari or Firefox when working within certain websites which have clearly been written for the windows platforms.  I know you can always use the Safari workaround with the developers option to tell the web page your working in “edge” not safari browser however I have found when I get a compatibility issue I just open the same site in a different web browser application.  Anyhow back to Edge.  The Security feature works in sync with Microsoft Defender just remember you need a Microsoft 365 account to sign into Microsoft Defender to allow it to work.  The Cross platform sync works with my 365 Account on Edge inside Windows however I love the Apple ID icloud integration on the Mac with Safari and the keychain so my 365 account is completely separate and not linked to my Apple ID. I have done this intentionally so I don’t have any sync issues between devices.  

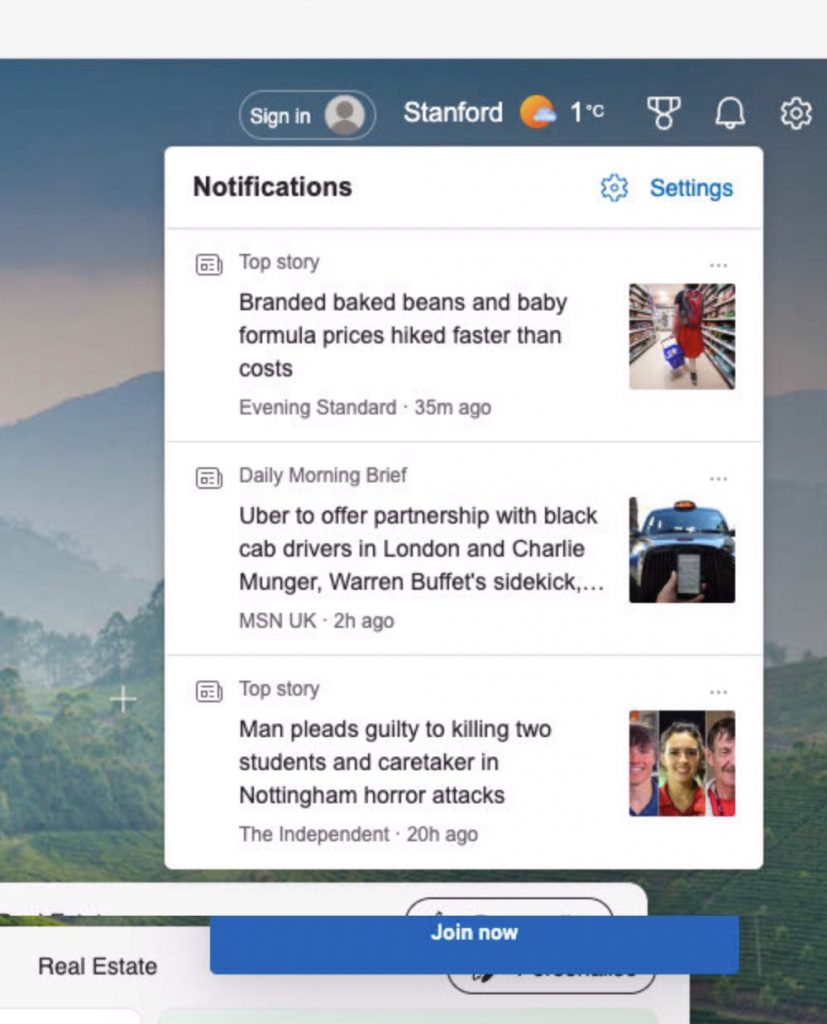
Finally it has the “edge features” in the top right corner of the browser which I am sure everyone used religiously or not.. like the weather (what is it about the UK and our fascination with the weather).  My patch of the UK its always raining…….  

Nominations can be handy depending how you have set them up to alert you and the layout page is smooth and easy to understand and operate.  

A screenshot of a computer

Description automatically generated

In short I would look at it as another browser option you might need or keep it in reserve on your Mac system. To embark on this new browsing journey, simply download Microsoft Edge from the official website.

If you have any questions or need assistance in exploring Microsoft Edge’s features, feel free to reach out. We’re here to help! Or as I say I like a challenge.

Microsoft Defender for Mac

So Microsoft defender for mac has now appeared when you download and install the full Office 365 package for your mac.  According to some reports the software has been around since 2019; however its only now been include in the full build of 365 for Mac download. Looking at the programme you would think that it would be as simple setup as it if by default on a windows machine. 

Well, you would be greatly disappointed.  The programme needs a registered Microsoft individual account to work and before you rush off and create a dummy Microsoft account to pair the software to the mac the account does need a Microsoft 365 personal or family licence to work with.

(click here for link)

For business users it’s not that easy either you need the Business packaged bolt on to your work account. Prices start at £2.5 + vat per user. (click here for link)

So, you’ve gone through the hurdles, ticked all the boxes, and managed to register the device on your individual Microsoft 365 account. Next, you will encounter the privacy and security tick box to enable the program to run in the background as a live antivirus for your Mac. This process has been well fine-tuned since Apple’s OS decided to lock down the software in System Preferences, or as it is now called in the latest OS versions, System Settings. The Microsoft Defender Shield icon marks itself with a little tick to show it’s live and enabled via privacy and security.

Like most other Anti Virus for Mac, the programme is managed from the finder window at the top of your mac. There are 4 options:

1: Live event “no Action needed”

2: Quick Scan “scans the drive for suspect issues etc”

3: Protection history “ in short a list of the scans, any upsets or highlights of the programme”

4: Open Microsoft Defender “ the programme when you can manage the software programme”

As for its reliability, well, we will need to wait and see. It is very basic and has limited functions, unlike some of the paid competition programs like Bitdefender; however, the interface within the managed devices in the Defender online portal is very clear and has a clean layout. As for people adopting Microsoft Defender for their Mac, I would doubt it.

The hurdles you have to go through just to install it on your Mac due to license issues are enough to put people off. If you already pay for your individual or family version of 365, then yes, you might adopt it for your Mac. It’s worth running a test of the software to see how you get on. Let’s not forget there are several ‘free’ versions of antivirus out there, including Malwarebytes and AVG, to name a few. I would always err on the side of caution with anything free, and antivirus programs are no exception.

Finally, I inputted Microsoft Defender and what it used to be called Windows Defender ‘for Mac’ into ChatGPT, and its response was very entertaining and around 12 months out of date. Oh well…

I am tempted to place its response in this article, but to dangle a carrot and see what results you get, why not input your own search and see what results you get. 

Anyhow, enjoy your day, and see you soon for the next Mac announcement.

tuneupmymac nightmare!

What to do if you install tuneupmymac and how to uninstall it?

OK so I was on download.com today and a piece of software decided to download itself to my downloads folder.  The programme was automatically  downloaded as a little extra piece of software from my original programme I downloaded.  The program was called “tuneupmymac”.  This programme is another one of those call called pieces of software that will “fix” your mac mac it go faster etc etc.  Well thats what is says on the tin, so it must be true? Mustn’t it?

Continue reading “tuneupmymac nightmare!”

Add WPS Printer to Airport Extreme

Adding a Wi-Fi printer to a network using the WPS (Wi-Fi Protected Setup Method) feature on your Broadband Router is, well straightforward.  Press the button on the WPS on the router and then press the Wi Fi button on the Printer.   The machines talk to each other and less than a minute the printer is now on the network.
The Question I have is how do you do that if your Router is a Airport Extreme, there is no fancy button for WPS on the Apple Device what do you do.  The process is rather simple but before we go into that I would have to ask one question.

Continue reading “Add WPS Printer to Airport Extreme”

Command Line to Create USB OSX Stick

As many people are aware creating a USB installer for OSX is ideal for any IT Engineer.  I have spent many hours searching for the terminal command to create a USB Bootable memory stick.

To simplify I am assuming you know what terminal is,you have a USB stick (8GB or more), have formatted it to untiled in disk utility and finally downloaded the latest version of the Mac OS you want an installer for.  All you need is the terminal command to run the installer to create the USB Installer.

Continue reading “Command Line to Create USB OSX Stick”

VPN L2TP Connection issues with Windows machines connecting to OSX Servers

If anyone has any dealings with OSX Server Licence 5.1 and above for El Capitan or MacOSX Sierra (10.11 or 10.12) will have come across PPTP is no more.  For VPN you have L2TP as your only option.  This is not a issue and it is a lot more secure than PPTP.   Always ensuring the correct ports are open for it to work.

Continue reading “VPN L2TP Connection issues with Windows machines connecting to OSX Servers”