
In this post we will go through the steps of how to create a bootable hard drive and install 3 Operating Systems.
For this process we are going to install 10.10 Yosemite, 10.11 El Capitan, 10.12 macOS Sierra on an external Hard drive. Continue reading “Make a bootable external Operating System Hard drive”
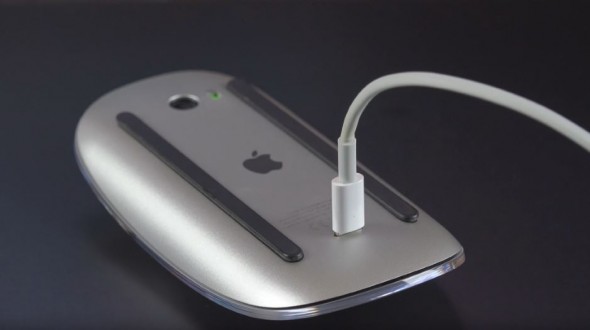
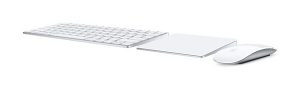 The Magic Keyboard and Magic Mouse 2 have been out since Oct 2015 replacing the similar designed mouse and a more flatter triangle shaped design keyboard with a rechargeable battery instead of the AA batteries. In theory gone now are the days of having a issue with a keyboard or mouse losing connection to the mac. Now you just plug in the lighting cable and away you go, well the keyboard anyhow, the mouse is a bit difficult to work with while its plugged in for regarding.


 The machines talk to each other and less than a minute the printer is now on the network.
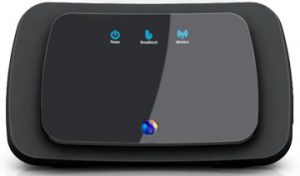
 Recently came across an issue registering a Apple TV 3 inside a sky broadband network. Seems one of the ports is not open thus allowing the Apple device register over the internet. This issue materialised in the last few weeks with a number of clients with their new Apple TV.

 This one is interesting it came about last year 2014 with people coming in with issues of wifi dropping on random devices. After a lot in investigation we managed to narrow the findings down to BT Home Hub 4 + 5 and their joint wifi optionto transmit both on 2.4 and 5GHZ.